DIY remote speaker using Raspberry Pi
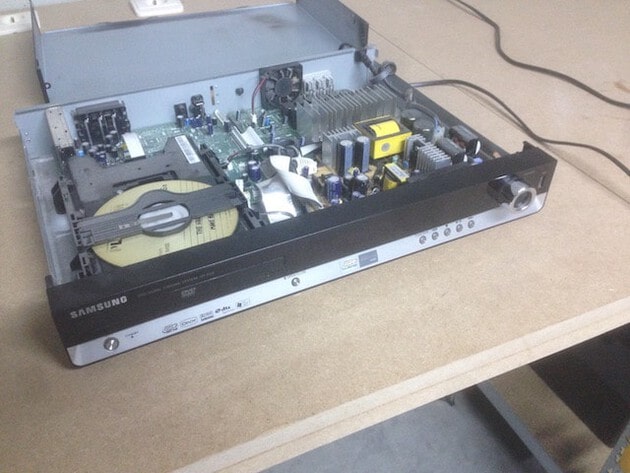
Because I spend a lot of time in my hobby room/man cave in progress, I was looking for an audio system. The two requirements were that it had to support AirPlay and needed to be cheap. Luckily I had this 10 year old Samsung surround receiver laying around, so that would be a perfect base for my audio system. This in combination with a new Raspberry Pi would be all the hardware needed to make this awesome sound system.
In search for an OS
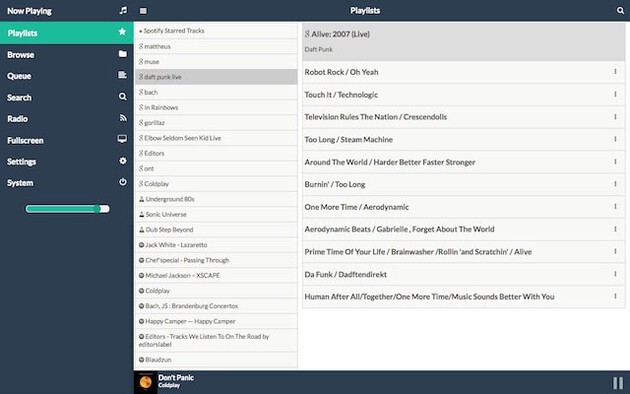
So now that I have my hardware selected it was time to search a good OS to run on the Raspberry Pi. After some searching and comparing I found Pi MusicBox which supports AirPlay and a bunch of other cool stuff.
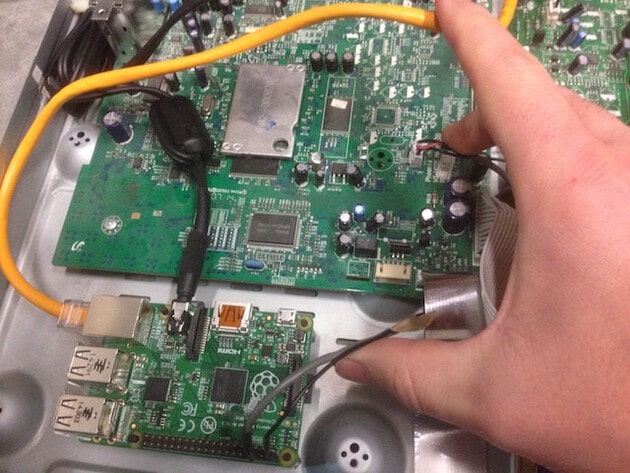
Mount Raspberry Pi
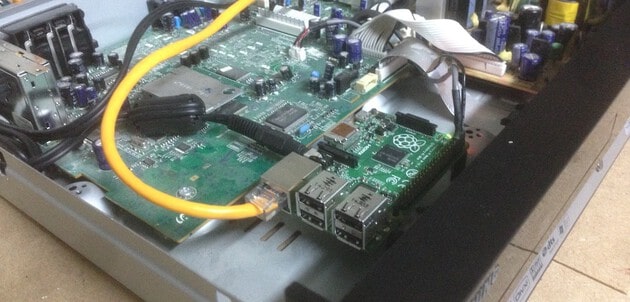
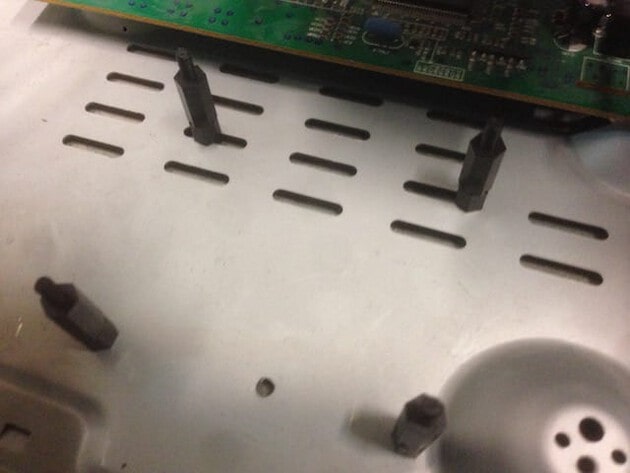
The next challenge was finding a way to mount the Raspberry Pi inside the receiver case without getting a short circuit with the metal casing of the receiver. When searching through my giant pile of Deal Extreme stuff I found these nylon spacers which would be perfect for this.
Give me some power
My idea was instead of hooking up a regular power supply to the Raspberry Pi, to use one of the internal power sources of the receiver.
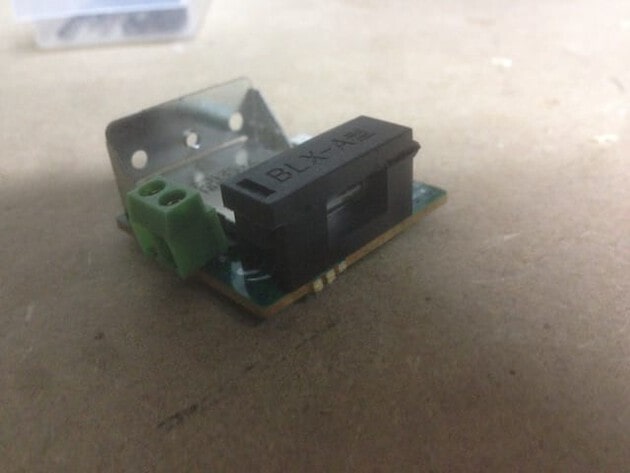
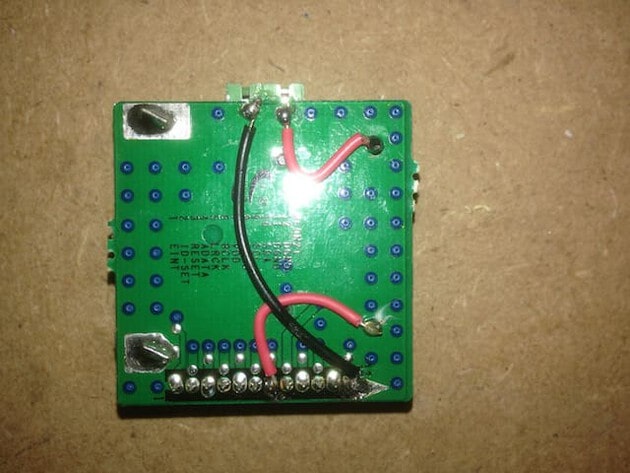
So after some trial and error testing with my multimeter I found this wireless speaker slot that was delivering the correct amount of power. So I pulled out the expansion board and modified it with a fuse and connector so it was easier to connect the Raspberry Pi.
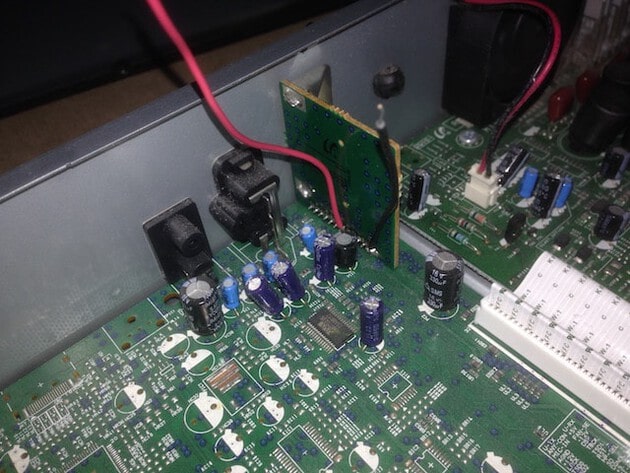
So after this awesome modification, I plugged it in, put on the power of the receiver and got disappointed because an error message popped up saying that there was a problem with the system. Pulled out the expansion board again and luckily the receive was functioning again like it should.
So probably I had destroyed the PCB while drilling the holes for the connector and the fuse holder. Back to the drawing board.
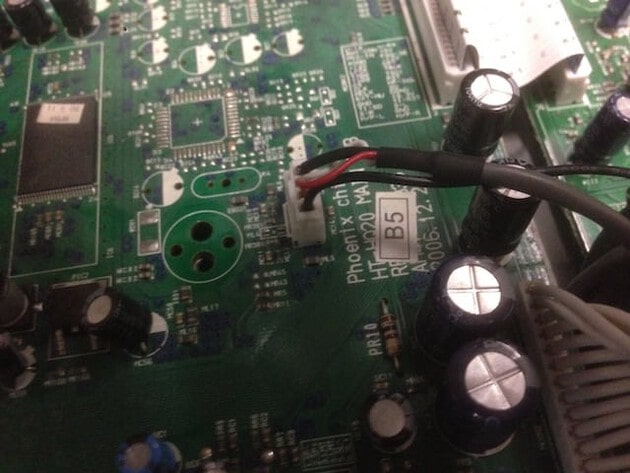
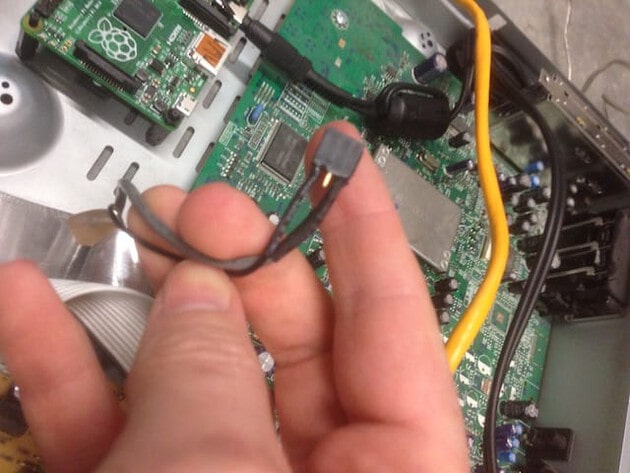
Luckily the receiver did also have a USB port which also works at 5v, perfect!
By modifying the part that plugged in the PCB of the USB port with a female header, I was able to provide the Raspberry Pi directly with power through pins 2 (5v) and 6 (ground).
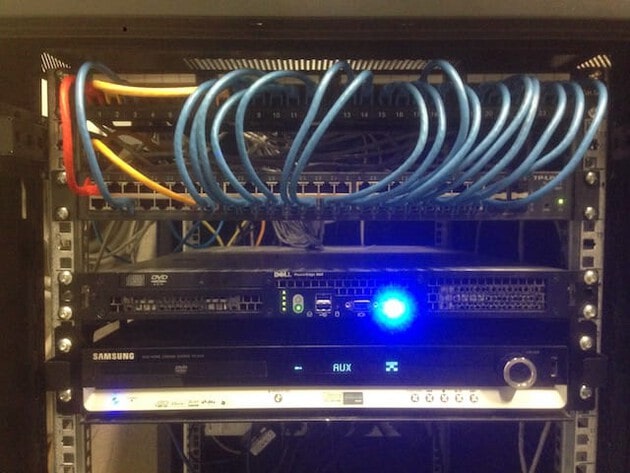
Result
I’ve added the receiver to my server rack using an old DVR rack shell as shelf. After using this system for over 3 months I’m really happy with the result.
Read only file system preferred
One potential problem that I can see happening is the SD card to go corrupt. Because the Raspberry Pi is turned off using the receiver power button, the Raspberry Pi isn’t shutdown gracefully. The power is just cut, so if the Raspberry Pi is writing to the storage device at that moment, it can cause some problems.
Tip Jar
If you like this blog, leave a tip! Your tip will help provide the basic necessities which sustain this blog: coffee, beer and raincoats for surviving the pitiful Belgium climate.
Buy me a coffeeAbout Wim Mostmans
Freelance full stack developer and Co-founder of the Employee Advocacy platform Ambassify, with a general interest for web technologies, electronics, AI projects, and home automation.
![]()
![]()
![]()
![]()
![]()