Wifi connected wake clock using ESP8266

Suppose you are blessed with the fact that you have some children running around. You probably know the phenomenon of one of your kids standing next to your bed at five in the morning with the question if it’s already time to wake up.
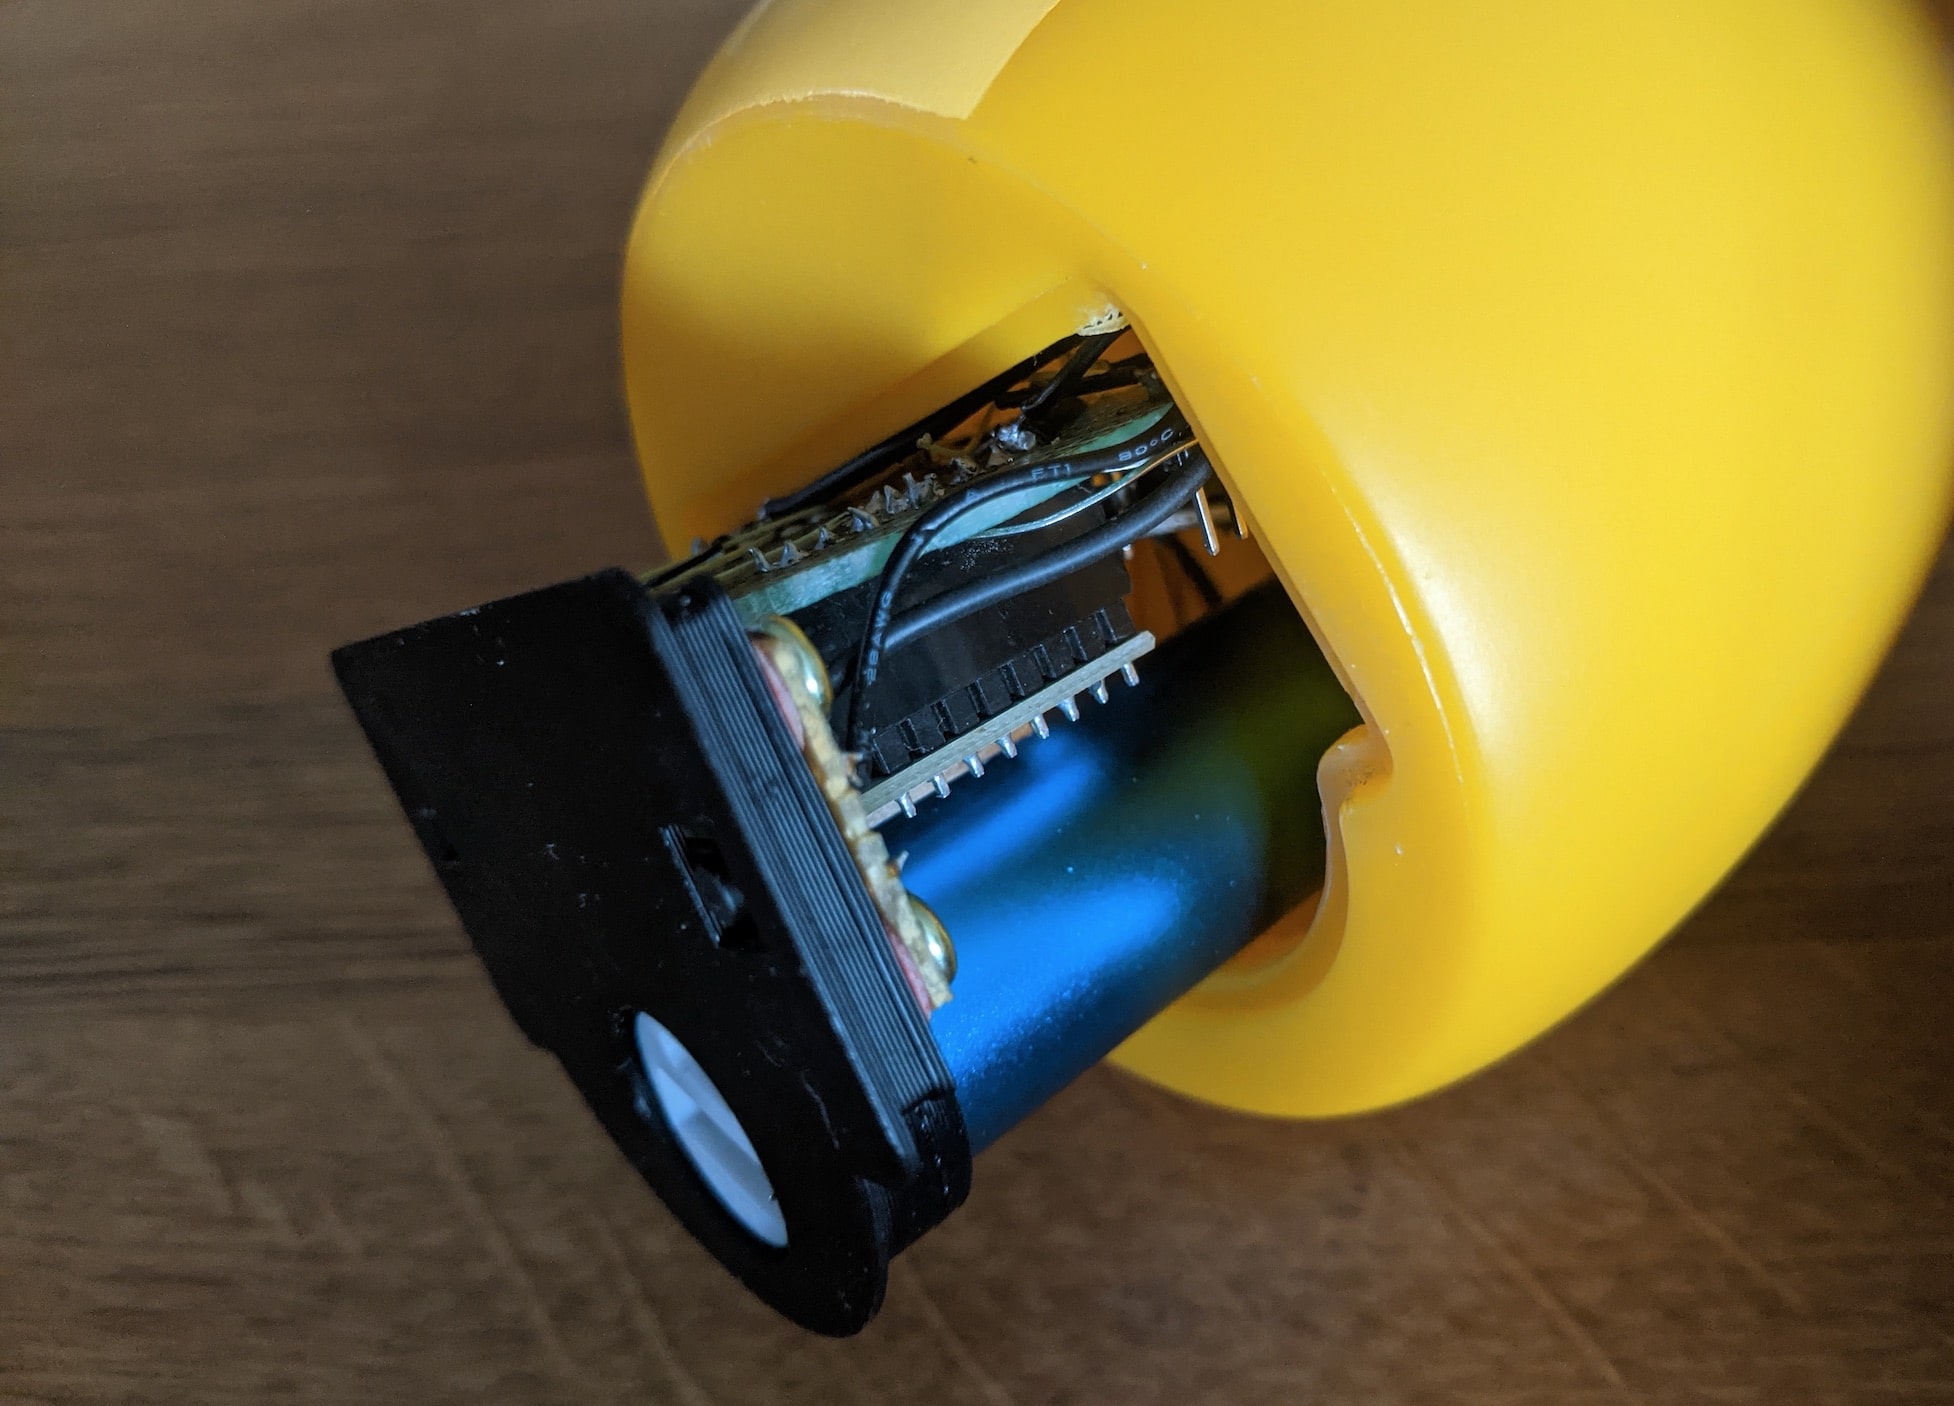
This project attempts to find a solution to restore my healthy eight hours of sleep per night. I already heard some good things about these wake clocks for kids that visually indicate if it’s time to wake up or not. The prices of these clocks are a bit expensive, and as a true DIYer, why not build it yourself. Luckily I had a nightlight that I got as a present from my colleague Koen for my son’s birth. It would make for the perfect enclosure for this project.
Some of the features I had in mind for this clock were the following;
- I wanted to make it wifi connected so I could upload new firmware over the network without having to open up the lamp every time I needed to make some code changes
- A wifi connection was also needed so I could fetch the current time to determine if one of the LEDs should be turned on.
- I wanted to add multiple colored LEDs to indicate modes. I also want a red light, for example to indicate snooze mode, which turns on a half hour before it’s morning.
- Add an extra push button to switch between modes
- Slide button to turn the clock on or off.
Power Source
I had some of these cheap 18650 battery bank holders lying around. In combination with a refurbished 18650 cell of an old laptop battery, it would make for the perfect cheap power source for this project. This solution solves a lot of stuff in one go:
- It’s a powerful power source which makes it possible to run the light for multiple weeks (with some code optimizations probably months) without a recharge
- The option to quickly recharge the battery using a USB charger
- And maybe the most important - some well-needed safety against over-discharge or a short circuit of the 18650 cell
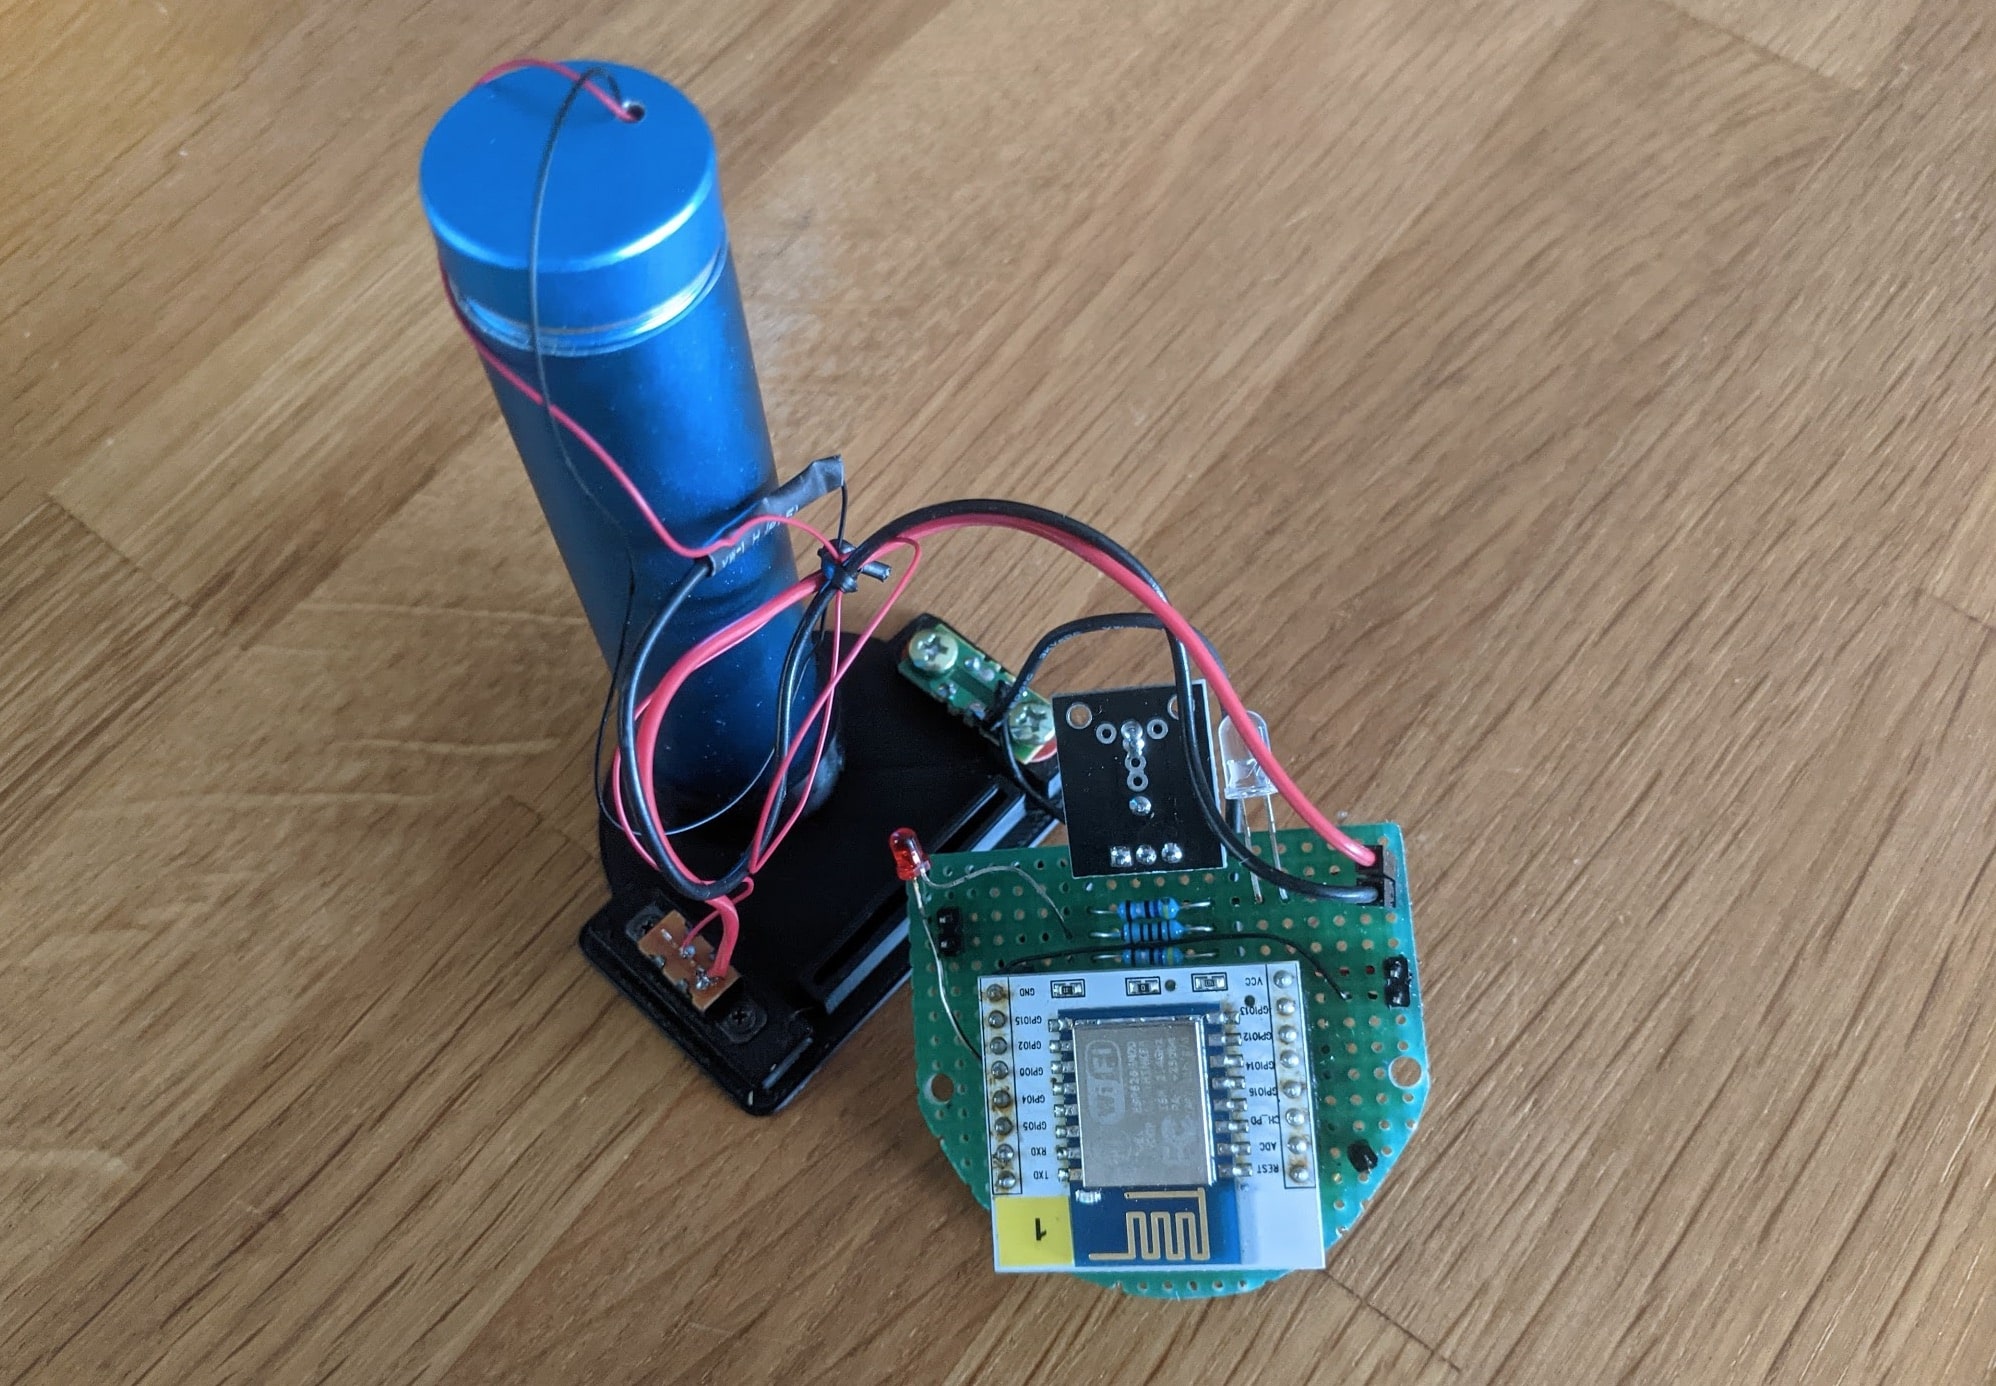
I first soldered the positive wire to the leftmost pin of the USB output port. I’ve drilled a hole in the battery bank cap, which I stick the positive and negative wire through. These wires were then used as my constant 5v power supply for the ESP8266.
3D print new lid
To fit everything in the enclosure, I had to recreate the original lid. After printing some prototypes with my 3D printer, I’ve ended up with this design.
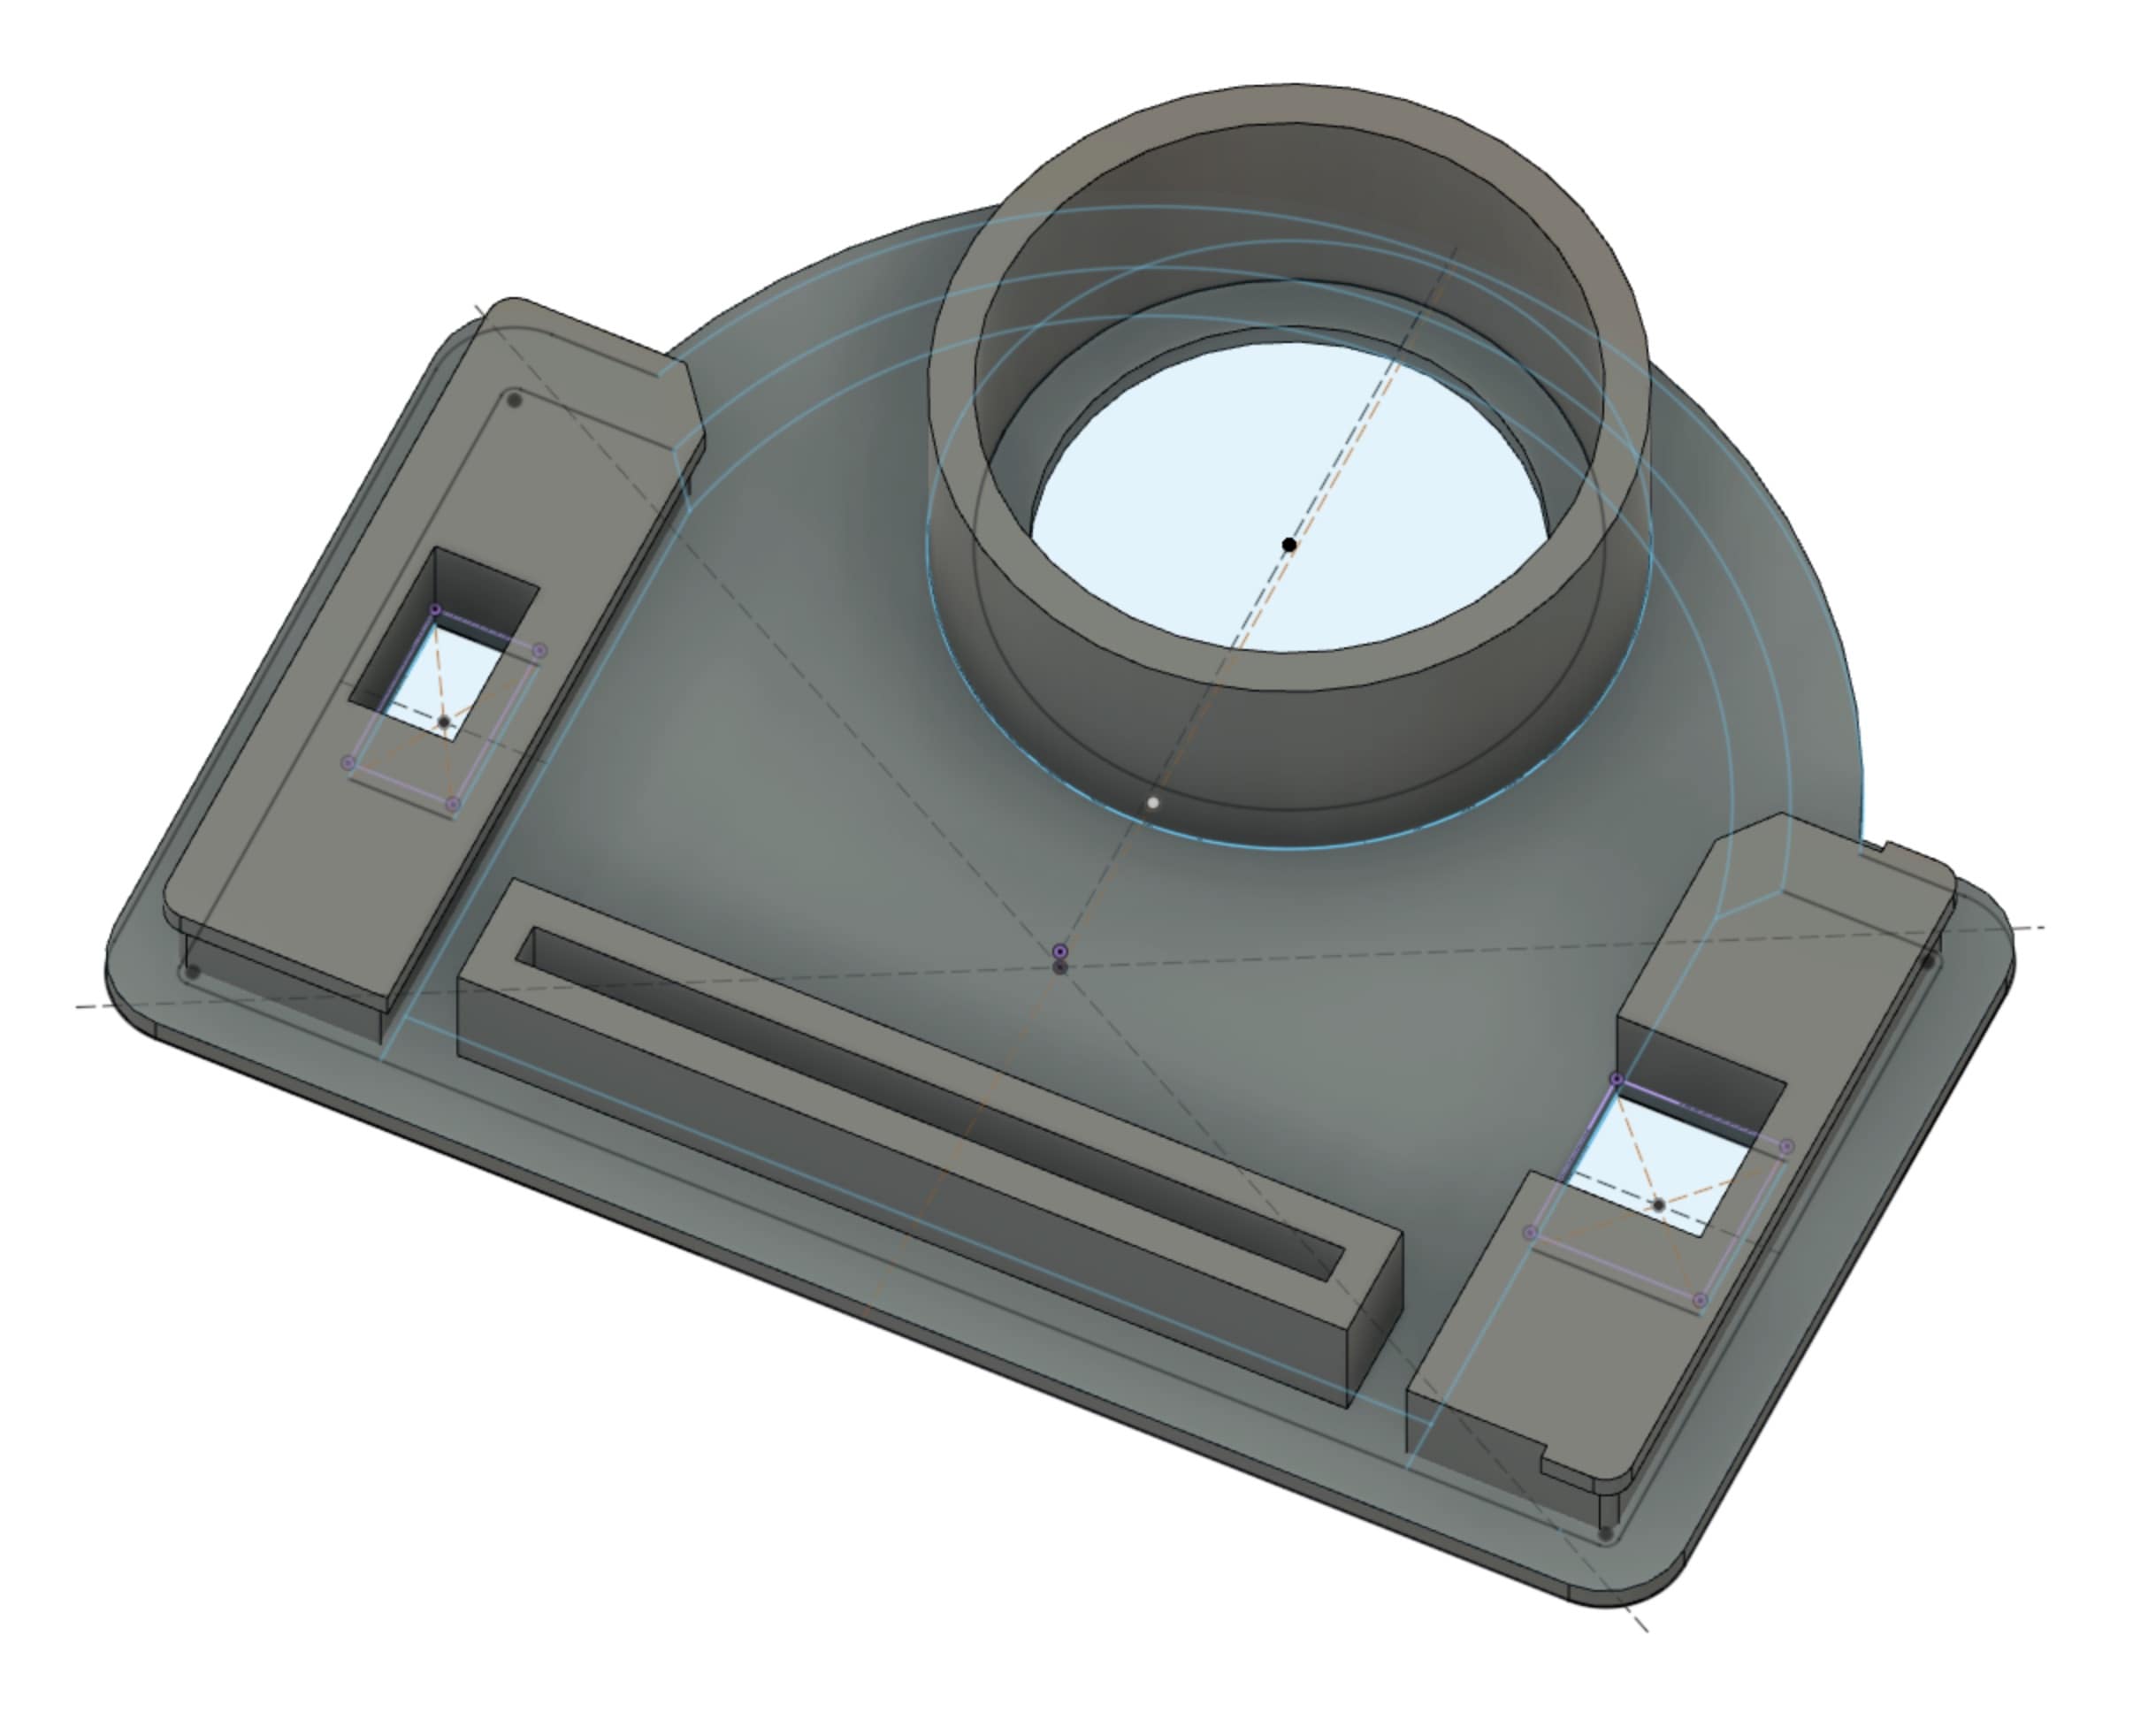
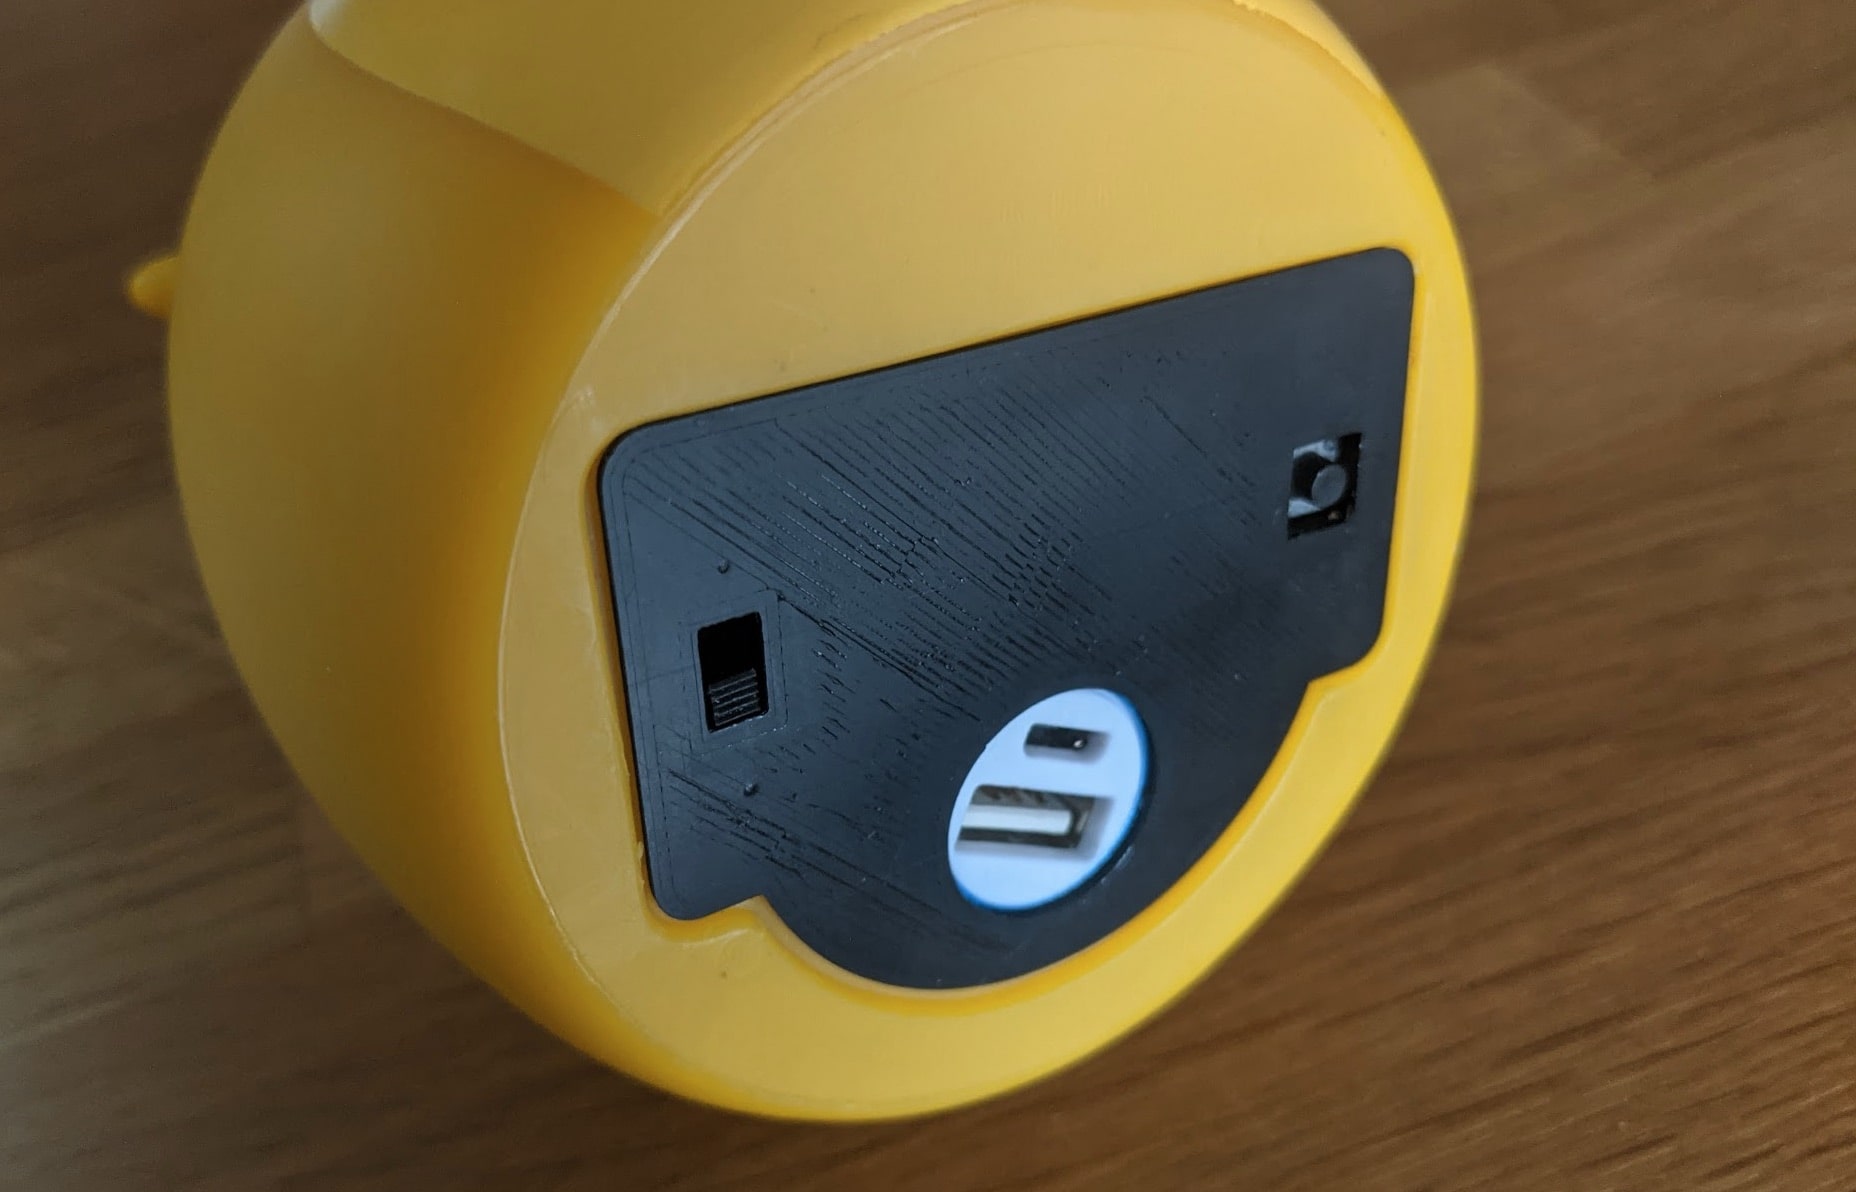
The circle is a placeholder that makes it possible to fit one of these 18650 USB battery banks. The square hole on the left is the location for the on/off slide button. The other spot reuses the original push button of the light itself. This push button will be the mode selection button.
Over the air programming
I’ve made the program so that, by default, it starts in the wake clock mode. But if you turn the light off and hold the push button in and turn the light back on, it goes into program mode. I’ve also made it so that the red and green LEDs both light up, so it’s visually clear that the clock is in program mode.
Result
The result of the DIY project was a healthy night rest for both father and son. Invaluable if you ask me!

Github
The source code for the clock is published on Github.
Tip Jar
If you like this blog, leave a tip! Your tip will help provide the basic necessities which sustain this blog: coffee, beer and raincoats for surviving the pitiful Belgium climate.
Buy me a coffeeAbout Wim Mostmans
Freelance full stack developer and Co-founder of the Employee Advocacy platform Ambassify, with a general interest for web technologies, electronics, AI projects, and home automation.
![]()
![]()
![]()
![]()
![]()